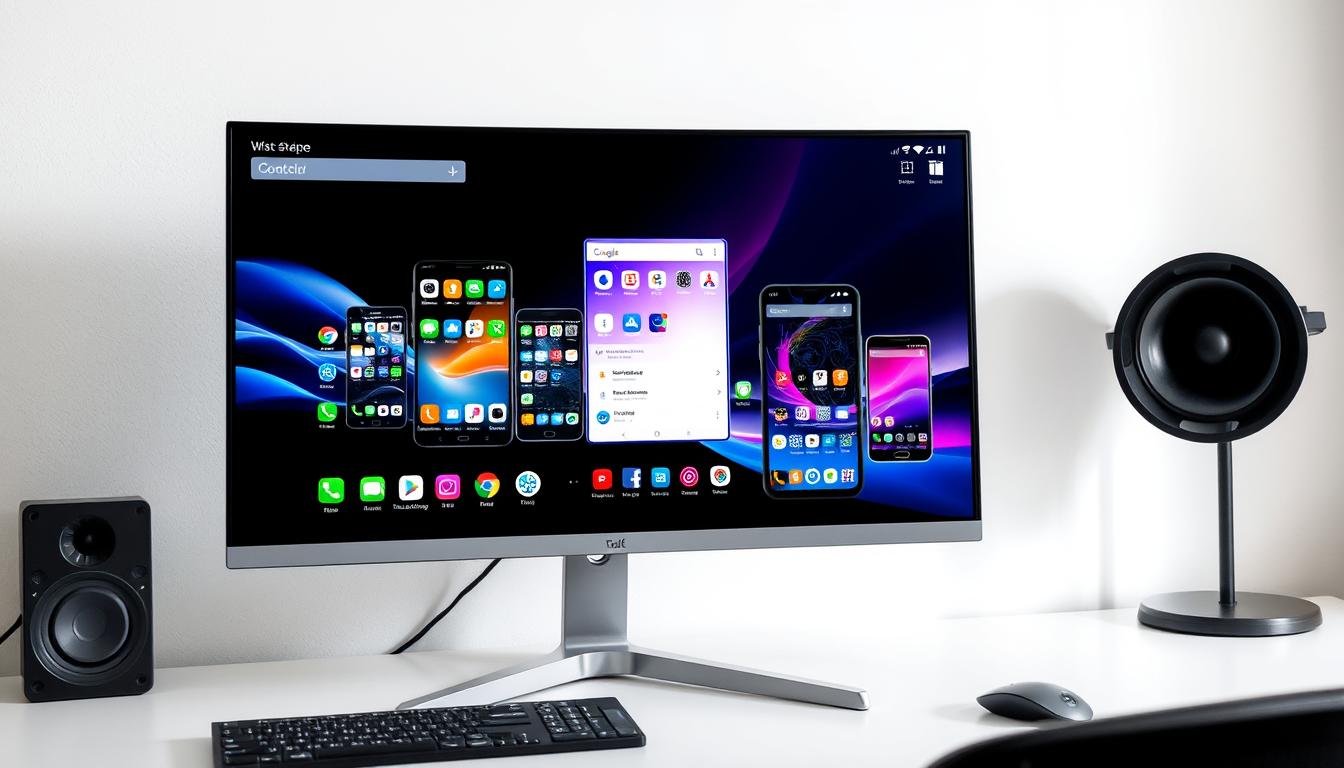
As a seasoned mobile app developer, I know how crucial testing is for app success. The Android Studio Emulator is a key tool for us. It lets us test on many Android devices and API levels from our desktops1.
This emulator has changed how we work, giving us great flexibility and control1. We can test on a variety of virtual devices without needing each one in real life. This helps us make apps that work well for everyone using Android.
In this guide, we’ll explore the Android Studio Emulator’s benefits and how to use it. We’ll look at what you need to start, how to set up virtual devices, and advanced tips for testing12.
Key Takeaways
- The Android Studio Emulator offers a flexible and high-fidelity testing environment, allowing developers to simulate a range of Android devices and API levels.
- Minimum system specifications for the Android Emulator include 16 GB RAM, 64-bit Windows 10 or higher, macOS 12 or higher, Linux, or ChromeOS, and 16 GB of disk space.
- The emulator provides almost all the capabilities of a real Android device, including simulating phone calls, network speeds, hardware sensors, and access to the Google Play Store.
- Creating and managing virtual devices through the Android Virtual Device (AVD) manager is a crucial part of the development process.
- The Android Studio Emulator offers a range of actions and tools, such as resizing, powering on/off, taking screenshots, and navigating the virtual device.
What is the Android Studio Emulator?
The Android Studio Emulator lets developers test Android apps without needing real hardware3. It can simulate many Android devices, screen sizes, and API levels3.
Benefits of Using the Emulator
The emulator has many benefits for making Android apps:
- It lets developers test apps on various simulated devices for better compatibility and user experience3.
- It’s great for quick testing and debugging, helping developers improve their apps fast3.
- Using the emulator saves money by not needing to buy many devices, making testing more affordable3.
- It supports a wide range of Android features like sensors, GPS, and camera for thorough testing3.
System Requirements for Running the Emulator
Your system needs to meet certain requirements to run the emulator well:
| Platform | System Requirements |
|---|---|
| Windows (64-bit) | |
| Mac (64-bit) | |
| Linux (64-bit) | |
| ChromeOS |
The SDK tools package also has its own system requirements:
| Platform | System Requirements |
|---|---|
| Windows | |
| Mac | |
| Linux |
Make sure your system meets these requirements for the best performance and compatibility with the Android Studio Emulator.
Creating an Android Virtual Device
Working with the Android Emulator means using an Android Virtual Device (AVD). This tells the emulator what Android version and hardware to mimic5. You can make an AVD with the AVD Manager in Android Studio. Each AVD acts like its own device, with its own storage for data and settings5. When you start the emulator, it uses the data from the AVD directory.
The AVD Manager has pre-made system images for AVDs6. Making a custom AVD system image means downloading and building the Android source code6. For Android 13 and up, use $make emu_img_zip to get a zip file. For Android 12 and earlier, use $make -j32 sdk sdk_repo to create the files and a zip6.
The Android Emulator supports multi-display (MD) emulation for Android 10 and later6. Adding multi-display to an AVD requires editing files and turning on certain features6.
| AVD Property | Description |
|---|---|
| AVD Name | The unique name of the Android Virtual Device. |
| Hardware Profile | The characteristics of the simulated device, such as screen size, memory, and sensors. |
| System Image | The Android system image to be used by the emulator, including the API level. |
| AVD ID | A unique identifier for the Android Virtual Device. |
AVD settings can change hardware profile settings for better interaction with your computer5. Make sure your AVD has the right device features for your app5.
For more on Android Emulator features and updates, check out the Android Emulator User Guide and Release Notes6.
“The right pane in the Device Manager describes the selected system image.”5
Pre-made hardware profiles in the Device Manager can’t be changed, but you can edit AVDs and hardware profiles5. The Virtual tab in the Device Manager lets you run, stop, and clear data on emulators using an AVD5.
For automated tests with virtual devices, consider using Gradle Managed Devices5.
In summary, Android Virtual Devices (AVDs) are key for setting up simulated Android devices with the Android Emulator. The AVD Manager in Android Studio helps you create, set up, and manage these virtual devices. This ensures your app works well on many Android platforms.
Running Your App on the Android Emulator
After making an Android Virtual Device (AVD) in Android Studio, you can run your app on it7. Pick the AVD you want from the target device menu and hit the Run button. The first launch might take a bit, but it gets faster after that7.
Wear OS Pairing Assistant
For Wear OS apps, the Android Emulator has a Wear OS Pairing Assistant. This tool helps you test your app on a virtual Wear OS device. You can pair your Wear OS emulator with the Android Emulator to check how they work together7.
The default emulator in RAD Studio is named rsxe5_android.exe and is found in C:\Users\\.android\avd\7. You can use the default emulator or make your own Android Virtual Devices7. You can also adjust the “Use Host GPU” property for faster performance7.
To run your app on the emulator, set the target platform in the Project Manager7. Keep in mind, emulators run slower than real devices because they emulate the platform. If needed, you can run and debug apps on a real device instead7. Some features might not work on emulators, but you can still test geolocation7.
Using the Android Emulator can sometimes cause issues, like not being seen in Android Studio8. Common fixes include turning off “Enable ADB Integration,” wiping the emulator’s data, or restarting Android Studio8. More complex fixes might involve fixing environment variables or using emulators like Genymotion8.
Knowing what the Android Emulator can and can’t do helps developers test and fix their apps better7. It’s a key tool for testing apps for Android or Wear OS7.
Navigating the android studio emulator
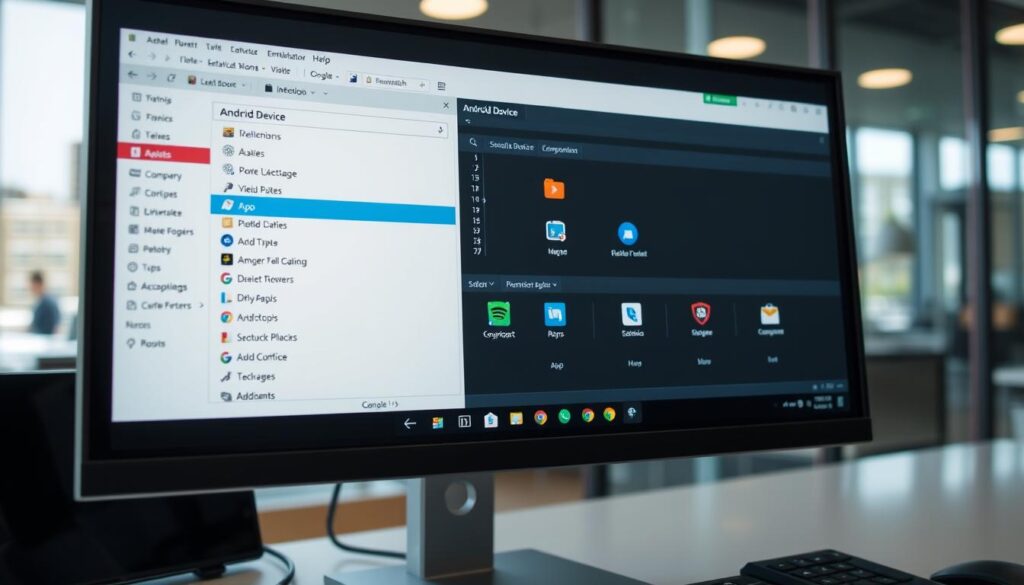
The Android Studio Emulator lets developers test and debug apps without a real device. It has easy android emulator navigation and android emulator gestures. This makes it easy to test how apps work in real situations9.
Gestures for Navigating
Use your computer’s mouse to act like you’re touching the screen when the emulator is on. You can swipe, drag, tap, double-tap, and hold like on a real device. These android emulator gestures help you move around the virtual device easily9.
Using the Emulator Panel
The Android Emulator also has a control panel for easy access to device functions and settings. You can simulate hardware buttons, change the device’s orientation, and use GPS, sensors, and network settings. This helps you test your app fully and make sure it works well for users9.
“The Android Emulator is a powerful tool that enables developers to test their apps on a wide range of virtual devices, ensuring a consistent and reliable user experience across different Android platforms.”
The emulator also lets you test how your app works with Wear OS devices. This is great for apps that work with Android smartwatches and other wearables9.
Learning how to use android emulator navigation, android emulator gestures, and android emulator controls makes testing easier. It helps developers make sure their apps work well, speeds up development, and gives users a great experience9.
Advanced Emulator Usage
Common Emulator Commands and Shortcuts
The Android Emulator has many advanced features to boost your testing. We can use emulator commands and shortcuts for actions like rotating the device and simulating sensor inputs10. For instance, pressing F1 (or Command+/ on macOS) opens a help pane with all shortcuts, making our work easier.
The emulator can mimic many hardware features. But, it can’t support some things like Bluetooth and NFC11. The Wear OS emulator also lacks some features, like the Overview button and fingerprint sensor11. Knowing these limits helps us plan our tests better.
To make the emulator work better, we can use various commands and shortcuts. Some common ones include:
- Rotate the device: Press Ctrl+F11 (Windows/Linux) or Cmd+F11 (macOS)
- Simulate sensor inputs: Use the Emulator Control Panel or the
adb shell sensorcommand - Access additional settings: Press F2 (or Cmd+, on macOS) to open the Emulator Settings menu
Learning these advanced techniques helps us test our Android apps more efficiently10. Also, watching the emulator’s CPU usage and adjusting settings can prevent performance problems like fan noise10.
In summary, the Android Emulator is a powerful tool for testing apps. By exploring its advanced features, we can use it to its fullest1011.
Troubleshooting Known Issues
Using the Android Studio Emulator, we might run into problems during testing. Luckily, Android Studio has a detailed guide for troubleshooting common emulator issues12.
Common issues include the emulator not starting, GPU acceleration errors, and SDK tool problems12. One tip is to set the Android Virtual Device (AVD) RAM to 768 MB to fix some issues12. It’s also suggested to install the Intel x86 Emulator Accelerator (HAXM installer) and enable virtualization in the BIOS12.
Some users faced problems on Ubuntu and macOS. On Ubuntu, changing file permissions for /dev/kvm fixed the issue. On macOS, updating HAXM solved the problem12. Other solutions include starting the emulator from the command line, adjusting emulator settings, and checking SDK installations12.
Changing hardware settings, updating system libraries, and using software graphics can also help fix emulator issues12. Increasing the VM Heap size is another recommendation for smoother emulator performance12.
By using these troubleshooting tips, we can quickly solve problems with the Android Emulator12.
Known Issues and Workarounds
The Android Studio guide also lists known issues and how to fix them. For example, Android Emulator versions before 34.2.13 won’t have Google Maps in extended controls after mid-May13. The emulator also needs at least 5 GB of free disk space to run smoothly13.
Other issues include slow performance with antivirus software running, trouble with multi-touch gestures, and poor Bluetooth headphone audio13. Some users found AVDs wouldn’t start on ChromeOS due to a missing libnss3 dependency13.
To fix these problems, the guide offers steps like updating the emulator, disabling Vulkan, or using specific GPU flags13. Knowing these solutions helps us troubleshoot and solve Android Emulator issues13.
Addressing Specific Emulator Errors
Android Studio also has solutions for specific emulator errors. For instance, apps might crash on the Android 11 emulator with a “Fatal signal 11 (SIGSEGV), code 1 (SEGV_MAPERR)” error. Upgrading the Database Inspector to version 9 or higher fixes this14.
Users also faced issues with Kotlin MPP code compilation, which was solved by updating the Kotlin plugin to version 1.414. Other problems include keyboard shortcut conflicts on Linux, frozen keyboard input, and Gradle sync failures due to IPv4 preference14.
By using the troubleshooting resources in Android Studio, we can quickly find and fix a variety of emulator issues for smoother testing14.
⭐️ Tap the exclusive deal link https://temu.to/k/uot8tcxvwum to score top-quality items at ultra-low prices. 🛍️ These unbeatable deals are only available here. Shop now and save big! ⭐️ Directly get exclusive deal in Temu app here: https://app.temu.com/m/mhb5rstagbx
Another surprise for you! Click https://temu.to/k/uag0bn0o0wd to earn with me together🤝!
Testing with Android Virtual Devices on Firebase Test Lab
Developers can use Firebase Test Lab to test their apps on many virtual devices, including those with an .arm or (Arm) suffix. These devices are faster than the standard Android Emulator15. They also match the screen sizes and densities of Android Studio’s AVDs for consistency. Plus, they support GPU-accelerated graphics.
Benefits of Using Virtual Devices
Virtual devices on Firebase Test Lab have many advantages. For example, they can run tests up to 60 minutes, while physical devices are limited to 45 minutes15. Using these devices costs $1 per hour per device15. This is a good option for developers who need to test their apps on many devices without spending a lot.
Known Limitations of Virtual Devices
Virtual devices also have some downsides. For instance, there’s a limit of 200 shards for Test Lab’s Arm devices15. Also, apps that use a lot of graphics might run slower on some devices because they use software graphics15. Test Lab’s Arm devices don’t support older API levels15. Some features like graphics APIs and AR functionality are also limited or not supported15.
New virtual device images are added, updated, or removed regularly to keep up with Android updates15. Developers should keep up with these changes to make sure their tests are effective.
| Metric | Physical Devices | Virtual Devices |
|---|---|---|
| Test Duration | 45 minutes | 60 minutes |
| Cost | Varies | $1 per hour per virtual device |
| Shard Limit | Unlimited | 200 shards |
| Graphics Performance | Native | Lower for some devices |
| Supported API Levels | Varies | 26 and above |
In summary, Firebase Test Lab’s virtual devices have many benefits over physical ones. But, developers should know their limitations to make good testing plans. By understanding the pros and cons of virtual devices, developers can choose the best testing methods and improve their app quality151617.
Using Custom Android Virtual Devices
We can make our own custom Android Virtual Devices (AVDs) in addition to the ones in Android Studio and Firebase Test Lab. This means building AVD system images from the Android source code and running them in the Android Emulator18.
Building AVD System Images
To build AVD system images, we use tools like “sdkmanager” and “avdmanager”. The “sdkmanager –list” command shows us what packages we have, what we can download, and what updates are available18. Then, we install the needed system image packages with “sdkmanager –install”, like “system-images;android-30;google_apis_playstore;x86”18.
The “avdmanager” tool helps with managing emulators. We can create a new AVD with “avdmanager create avd”, giving it a name, package, and ABI. For instance, “echo “no” | avdmanager –verbose create avd –force –name “” –package “system-images;android-30;google_apis_playstore;x86” –abi “x86″”18.
The “config.ini” file in “$HOME/.android/avd/” has settings for the AVD, like RAM size, audio output, and Google Play Store status18.
Adding Multi-Display Support
The Android Emulator lets us test apps on multiple screens at once. To start an AVD, we use the “emulator @” command18.
With custom AVDs and multi-display support, we can test our Android apps on many devices and setups. This ensures they work well for users across different devices and screens18.
Creating and using custom Android Virtual Devices helps us tailor testing to our needs. This leads to better and more reliable app development18.
Conclusion
The Android Studio Emulator is a key tool for testing Android apps. It helps developers test their apps on many devices without needing real hardware19. With over 2.5 billion Android devices worldwide20, it’s a cost-effective way to test apps.
This emulator makes testing easier with its flexibility and detailed simulations20. It helps us make sure our apps work well on different devices20. It also works with tools like Espresso and Appium to improve testing20.
The Android Studio Emulator is vital for making great Android apps. It lets us create apps that work well in the changing Android world2019.
FAQ
What is the Android Studio Emulator?
What are the benefits of using the Android Emulator?
How do I create an Android Virtual Device (AVD)?
How do I run my app on the Android Emulator?
How do I interact with the Android Emulator?
What advanced features does the Android Emulator offer?
What kind of issues may I encounter with the Android Emulator, and how can I troubleshoot them?
What are the benefits of using Firebase Test Lab virtual devices?
How can I create and use my own custom Android Virtual Devices (AVDs)?
Source Links
- https://developer.android.com/studio/run/emulator – Run apps on the Android Emulator | Android Studio | Android Developers
- https://developer.android.com/codelabs/basic-android-kotlin-compose-emulator – Run your first app on the Android Emulator | Android Developers
- https://developer.android.com/studio/releases/emulator – Emulator release notes | Android Studio | Android Developers
- https://developer.android.com/studio – Download Android Studio & App Tools – Android Developers
- https://developer.android.com/studio/run/managing-avds – Create and manage virtual devices | Android Studio | Android Developers
- https://source.android.com/docs/setup/create/avd – Use Android Emulator virtual devices | Android Open Source Project
- https://www.embarcadero.com/starthere/xe5/mobdevsetup/android/en/running_your_android_application_on_an_android_emulator.html – Running Your Android Application on an Android Emulator
- https://stackoverflow.com/questions/29198327/android-studio-emulator-is-running-but-not-showing-up-in-run-app-choose-a-runn – Android studio: emulator is running but not showing up in Run App “choose a running device”
- https://developer.android.com/studio/run/emulator-commandline – Start the emulator from the command line | Android Studio | Android Developers
- https://stackoverflow.com/questions/37063267/high-cpu-usage-with-android-emulator-qemu-system-i386-exe – High CPU usage with Android emulator (qemu-system-i386.exe)
- https://developer.android.com/studio/run/advanced-emulator-usage – Advanced emulator usage | Android Studio | Android Developers
- https://stackoverflow.com/questions/16717064/emulator-in-android-studio-doesnt-start – Emulator in Android Studio doesn’t start
- https://developer.android.com/studio/run/emulator-troubleshooting – Troubleshoot known issues with Android Emulator | Android Studio | Android Developers
- https://developer.android.com/studio/known-issues – Known issues with Android Studio and Android Gradle Plugin | Android Developers
- https://firebase.google.com/docs/test-lab/android/avds – Start testing with Android Virtual Devices | Firebase Test Lab
- https://firebase.google.com/docs/test-lab/android/get-started – Get started testing for Android with Firebase Test Lab
- https://developer.android.com/studio/run/android-device-streaming – Android Device Streaming, powered by Firebase | Android Studio | Android Developers
- https://medium.com/tauk-blog/creating-custom-android-emulators-for-end-to-end-automation-tests-54cd6fcc8958 – Creating Custom Android Emulators for End-to-End Automation Tests
- https://medium.com/@wijebahuwmpwdgb.20/developers-guide-to-android-emulator-setup-and-secrets-tips-501c44cf25a2 – Developer’s Guide to Android Emulator Setup and Secrets Tips
- https://thectoclub.com/test-management/what-is-an-android-emulator/ – What Is An Android Emulator & How Is It Used For Testing?
- https://www.facebook.com/share/p/sVxZt8Yz815kLfrU/ –
