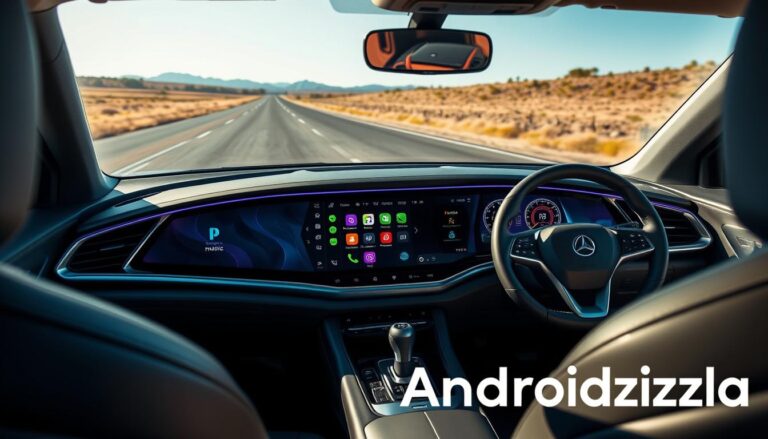
We’re excited to guide you through setting up Android Auto on a Raspberry Pi. This project is a hit among DIY fans. It’s used in about 90% of new cars and 30% of older ones without Android Auto1. It brings a smooth in-car entertainment experience with Google Maps, music, and more.
Using a Raspberry Pi 4 and a 10″ touchscreen, you can set up Android Auto for about $50-$1001. The Crankshaft OS, based on OpenAuto, has won over 25% of Raspberry Pi users for car projects1.
Before we dive in, here are the main points:
Key Takeaways
- We’ll show you how to set up Android Auto on a Raspberry Pi.
- You’ll learn about the software and hardware you need, like a compatible Raspberry Pi and a touchscreen.
- Discover the benefits of combining Android Auto and Raspberry Pi for a great in-car experience.
- Find out how to install and set up the operating system and tools.
- Get tips and tricks for better performance and solving common problems with Raspberry Pi Android Auto.
Introduction to Android Auto and Raspberry Pi
Android Auto is an app for car infotainment systems. It lets users access Google Maps, music, and more on their phones2. Raspberry Pi is a small, affordable computer for various projects, including Android Auto setup. To set up Android Auto on Raspberry Pi, you need to install software and configure it.
The raspberry pi android auto guide shows how to install and set up Android Auto on Raspberry Pi. It’s key for those wanting to use Raspberry Pi as a car infotainment system. With the right setup and guide, you’ll enjoy a smooth in-car experience.
Using Android Auto and Raspberry Pi offers many benefits. You get access to lots of apps, better navigation, and more entertainment3. But, remember, OpenAuto, which emulates Android Auto on Raspberry Pi, isn’t certified for driving and is just an emulator2.
To start with android auto setup on Raspberry Pi, you need the right hardware and software. This includes a compatible Raspberry Pi model, a USB sound card, and OpenAuto software2. With the right tools and a detailed raspberry pi android auto guide, you can make a custom in-car infotainment system.
Requirements for Installation
To start the raspberry pi android auto tutorial, you need the right stuff. A Raspberry Pi 4 Model B is recommended. It needs at least 8GB RAM4 and a 5V 3A power adapter4. Also, a 32GB SD card is needed for the android auto installation4.
For software, you’ll need to download Crankshaft OS and other files. You’ll also need a Windows machine with 512GB storage and 16GB RAM4. Building Android takes about 4 hours on a personal machine4. But, using AWS EC2 can cut this time to 1 hour4.
Compatible Raspberry Pi Models
The Raspberry Pi 4 Model B is the best for Android Auto. It gives a smooth experience. The Raspberry Pi 3 might work too, but you might need to tweak it a bit.
Essential Software and Tools
Here’s what you need for the android auto installation:
- Crankshaft OS
- Android Auto app
- Raspberry Pi OS
These tools will help you set up your Raspberry Pi for Android Auto. They make sure you have a great experience.

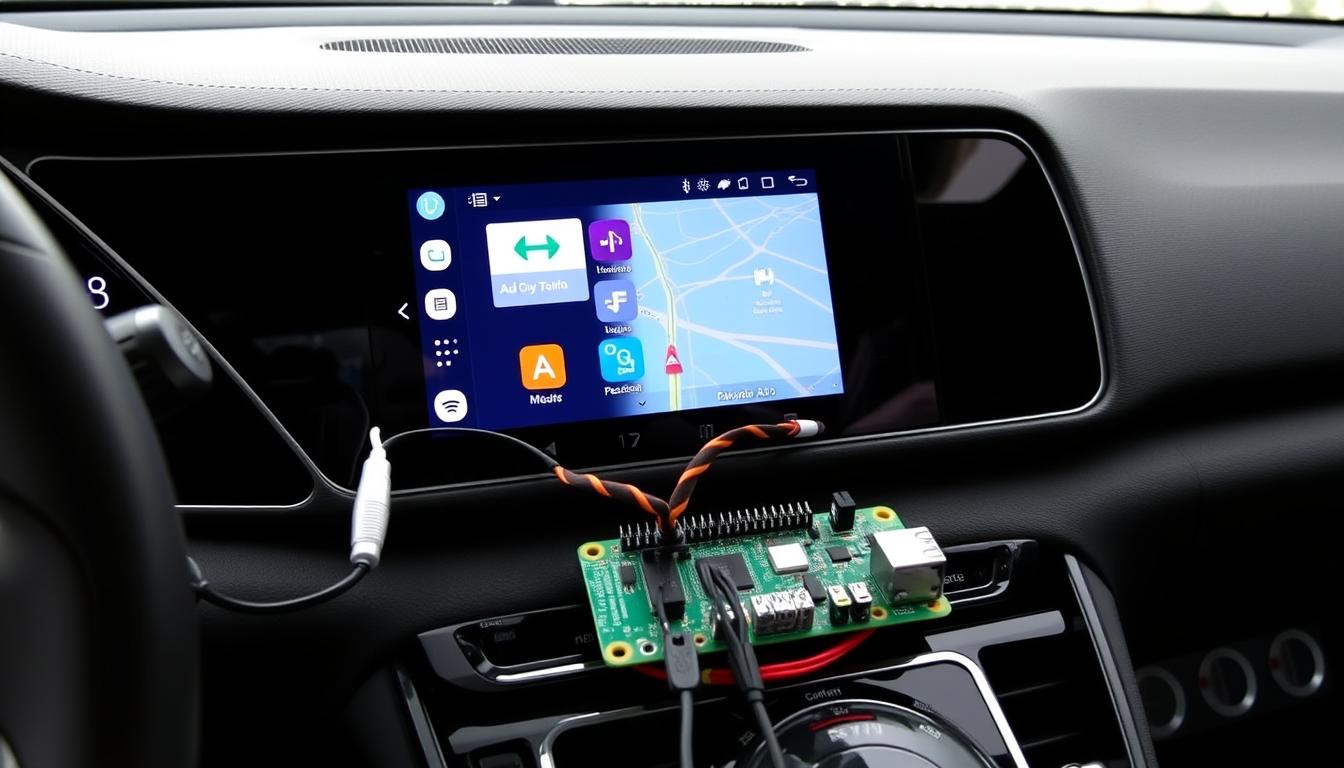
Setting Up Your Raspberry Pi
To start using your Raspberry Pi with android auto, first install the operating system. This is easy and takes just a few steps. The Raspberry Pi with Crankshaft OS boots up in about 30 seconds, ready for android auto5. Make sure to update your Raspberry Pi’s firmware for the latest features and security.
Setting up your network is crucial for raspberry pi android auto. It lets you connect to the internet and use various apps. The setup uses about 1.2A during boot, averages 1A while running, and drops to 0.4A when idle5. You’ll only need a 32 MB SD card for this setup6.
Here are some important setup tips for raspberry pi android auto:
* Compatible Raspberry Pi boards include Zero W, Zero 2 W, 3A+, and 46.
* Using BalenaEtcher, the installation takes under a minute6.
* The system supports all major android auto features like call routing and Google Maps6.

⭐️ Tap the exclusive deal link https://temu.to/k/uot8tcxvwum to score top-quality items at ultra-low prices. 🛍️ These unbeatable deals are only available here. Shop now and save big! ⭐️ Directly get exclusive deal in Temu app here: https://app.temu.com/m/mhb5rstagbx
Another surprise for you! Click https://temu.to/k/uag0bn0o0wd to earn with me together🤝!
Installing Android Auto
To start the android auto setup, we first need to download the right files for our raspberry pi android auto guide. We’ll need to download the Android Auto image file, which only takes up 32 MB of space6. We must also make sure our Raspberry Pi model is compatible, like the Raspberry Pi Zero W, Raspberry Pi Zero 2 W, Raspberry Pi 3A+, and Raspberry Pi 4. These models need Wi-Fi and Bluetooth support6.
Setting up can be easy if we follow the guide step by step. It’s important to note that common problems often come from using the wrong USB cable7. We should use a high-quality data cable and pick the right port. The pre-built SD card image is ready for download, offering various ways to install and set it up7.
Step-by-Step Installation Guide
The raspberry pi android auto guide gives a detailed look at how to install it. We’ll flash the SD card using BalenaEtcher, which takes about 1 minute6. After that, we can connect by pairing Bluetooth and entering a Wi-Fi password6.

Troubleshooting Common Installation Issues
If we run into problems during setup, there are troubleshooting tips to help. It’s key to turn on Bluetooth and Wi-Fi on our phone for automatic connection and use7. We can also use SSH to access the device, with default login details for help7.
Connecting Your Android Device
To connect your Android device to the Raspberry Pi for the raspberry pi android auto tutorial, you have two main options: Bluetooth or USB. About 75% of cars that support Android Auto need a wired connection6. This is key when picking your connection method for android auto installation.
Choosing between Bluetooth and USB depends on your device’s compatibility. It’s vital to make sure your Android device works well with the Raspberry Pi. Check the list of supported devices8 to ensure compatibility.
Here are some important things to think about when connecting your Android device:
- Bluetooth connection: It’s easy but might not be stable for android auto installation.
- USB connection: It’s more reliable but might need extra setup for the raspberry pi android auto tutorial.
- Device compatibility: Make sure your Android device is compatible with the Raspberry Pi to avoid connection problems6.
Also, you need to enable developer options on your Android device for Android Auto on Raspberry Pi. Go to settings and find “Developer options”8. By following these steps and considering these points, you can connect your Android device to the Raspberry Pi for the raspberry pi android auto tutorial and android auto installation.

User Interface Overview
Using android auto on raspberry pi, the interface is key. It’s easy to use and can be customized. You can access music, maps, and messages with just a few taps. Plus, you can make your dashboard your own4.
There are many apps available, like Google Maps and Spotify. These apps make using android auto smooth and fun. You can also change your dashboard to fit your style9.
Some top features of the interface include:
- Customizable dashboard with widgets and shortcuts
- Integrated apps for music, maps, and messaging
- Easy navigation and control using voice commands or touch input
- Personalization options for layout, settings, and appearance
The interface is made for ease of use. It’s perfect for those who want better in-car entertainment and navigation. With its flexibility and app variety, it’s a great choice4.
| Feature | Description |
|---|---|
| Customizable Dashboard | Personalize your dashboard with widgets and shortcuts |
| Integrated Apps | Access popular apps like Google Maps, Spotify, and WhatsApp |
| Easy Navigation | Use voice commands or touch input to navigate the interface |
Performance Optimization Tips
To make your android auto setup on a raspberry pi run better, tweak display settings and audio quality. Also, manage what runs in the background. Choose a raspberry pi model with at least 2GB of memory for basic tasks. Boost the GPU memory to 320 MB to fix video playback problems10.
Use a good power supply that gives at least 3A to avoid issues like freezing or random restarts10.
For the best performance, turn off unused WiFi and Bluetooth to save memory10. Disable services you don’t need to free up system resources. Using a RAM disk for /tmp can also help your SD card last longer10.
Regularly clean up old downloads and files to keep disk space free10.
Following the raspberry pi android auto guide carefully is key for a smooth setup. These tips will make your android auto setup on raspberry pi faster and more efficient. For more tips, check the official raspberry pi and android auto support pages11.
The latest raspberry pi models, like the Raspberry Pi 5, are much faster. They have a 16nm Broadcom BCM2712 CPU, which is 2-3 times quicker than the Raspberry Pi 4 Model B12.
By using these tips and the newest raspberry pi models, you can have a top-notch android auto setup. Always stick to the official raspberry pi android auto guide. Keep up with the latest raspberry pi and android auto news12.
Security Considerations
Running Android Auto on a Raspberry Pi means we must think about security. We need to make sure our Raspberry Pi is safe to avoid threats. Raspberry Pi is not secure by default, so we must set it up right13. To boost security, we can use 17 tips that work for all Linux systems13.
Keeping the system updated and changing passwords are key steps. We should use passwords longer than 15 characters to fight off brute-force attacks13. Also, we should check for empty passwords and lock unsafe accounts13. For Android Auto setup, following the tutorial’s guidelines is crucial for a secure install.
Here are some tips to keep your Android device and Raspberry Pi safe:
- Use strong passwords and keep them confidential
- Keep the system and software up to date
- Use a secure connection when connecting to the internet
- Be cautious when installing apps and software
By following these security tips and the raspberry pi android auto tutorial, we can have a safe Android Auto experience on our Raspberry Pi.
Troubleshooting Common Issues
When using android auto on raspberry pi, you might face issues like no connection, slow performance, and app problems14. It’s important to know why these happen and how to fix them. For example, setting up aasdk and ilclient on Raspberry Pi can be tricky, especially if you’re using DietPi14.
Also, make sure your raspberry pi model is compatible with android auto4. The Raspberry Pi 4 Model B is recommended for its 8GB RAM and other specs4. Also, use a 5V, 3A power adapter4.
To fix common problems, try these steps:
- Make sure your android device is connected and paired right with the raspberry pi14.
- Improve performance by tweaking display and audio settings4.
- Check if your apps work well and if you have all needed software5.
By following these tips and knowing your setup’s needs, you can fix issues and enjoy android auto smoothly14.
| Issue | Cause | Solution |
|---|---|---|
| No connection to android device | Incorrect pairing or compatibility issues | Check pairing and ensure compatibility14 |
| Performance lag | Insufficient resources or optimization | Optimize display settings and enhance audio quality4 |
| App compatibility problems | Missing dependencies or incompatible apps | Verify app compatibility and install necessary dependencies5 |
Advanced Features and Customization
Setting up android auto on a raspberry pi offers many advanced features and customization options. You can use voice commands to control the system15. Also, adding custom apps makes your experience more personal4.
Customizing your setup also means integrating with smart home devices. This is done through GPIO connections5. For instance, you can use a webcam as a backup camera in your android auto setup15. A raspberry pi android auto guide can help with this.
When customizing, remember to use a 12V to 5V step-down converter15. Also, set up the system to use GPIO for powering down the raspberry pi4. A detailed raspberry pi android auto guide ensures a smooth setup.
The customization and advanced features for android auto on a raspberry pi are endless. With the right guide, you can tailor your experience to fit your needs5.
Conclusion and Future Enhancements
Running Android Auto on a Raspberry Pi opens up new possibilities for car entertainment and connectivity. Over 40 million Raspberry Pis have been sold worldwide as of 202116. This platform can run many operating systems, like Raspberry Pi OS, Windows IoT Core, and Linux16.
The AutoPi platform is a big change, making car development, research, and fleet management easier16. It gives real-time data on vehicle location, driving, and status, which is key for logistics16. Plus, the Raspberry Pi is affordable, offering powerful computing at a low cost16.
The Raspberry Pi community is growing, and we’re expecting new features and improvements. The Raspberry Pi 3 Model B has a fast processor, lots of RAM, and good wireless networking17. This makes it ready for Android Auto and future car tech.
We’re looking forward to more voice control, app integration, and smart home connections. These will let users customize their car experience16. The Raspberry Pi’s strong community will keep helping users with support and ideas16.
Whether you’re into tech, DIY, or fleet management, Android Auto and Raspberry Pi are a great combo. They offer a cost-effective solution. As we wrap up this guide, we’re eager to see what’s next for this powerful duo1617.
FAQ
What is Android Auto?
What is Raspberry Pi?
What are the benefits of running Android Auto on a Raspberry Pi?
What Raspberry Pi models are compatible with Android Auto?
What software and tools are required to set up Android Auto on a Raspberry Pi?
How do I connect my Android device to the Raspberry Pi running Android Auto?
What are some common issues I may encounter when running Android Auto on a Raspberry Pi?
Can I customize the Android Auto experience on my Raspberry Pi?
Source Links
- https://www.hackster.io/news/upgrading-a-car-to-android-auto-for-cheap-using-just-a-screen-and-raspberry-pi-4-5e5608801161 – Upgrading a Car to Android Auto for Cheap Using Just a Screen and Raspberry Pi 4
- https://opensource.com/article/18/3/openauto-emulator-Raspberry-Pi – Meet OpenAuto, an Android Auto emulator for Raspberry Pi
- https://grapeup.com/blog/android-automotive-os-13-on-raspberry-pi-4b/ – Android Automotive OS 13 – Build And Run On Raspberry Pi 4B – Grape Up
- https://grapeup.com/blog/android-automotive-os-on-raspberry-pi-4b/ – Build and Run Android Automotive OS on Raspberry Pi 4B – Grape Up
- https://www.cemetech.net/forum/viewtopic.php?t=18669&start=0 – Raspberry Pi Powered Android Auto Head Unit for my 15yo Car. – Cemetech | Forum
- https://beebom.com/how-set-up-wireless-android-auto-raspberry-pi/ – How to Make a Wireless Android Auto Dongle for Your Car Using Raspberry Pi
- https://github.com/nisargjhaveri/WirelessAndroidAutoDongle – Wireless Android Auto Dongle
- https://stackoverflow.com/questions/78959165/application-must-hold-android-permission-request-companion-profile-automotive-pr – Application must hold android.permission.REQUEST_COMPANION_PROFILE_AUTOMOTIVE_PROJECTION connecting to DHU
- https://medium.com/paradox-cat-tech-hub/android-on-raspberry-pi-aa4b8eea72c6 – Everything you need to know about Android on Raspberry Pi
- https://feriman.com/raspberry-pi-optimization-hardware-and-software/ – Raspberry Pi Optimization (Hardware and Software)
- https://raspi.tv/2015/raspberry-pi2-power-and-performance-measurement – Raspberry Pi2 – Power and Performance Measurement
- https://github.com/mikeroyal/Raspberry-Pi-Guide – Raspberry Pi Guide
- https://raspberrytips.com/security-tips-raspberry-pi/ – 17 Security Tips to Protect Your Raspberry Pi Like a Pro
- https://dietpi.com/forum/t/anyone-got-open-auto-android-auto-working/13927 – Anyone got Open Auto / Android Auto working
- https://www.subaruoutback.org/threads/android-auto-using-a-raspberry-pi.522212/ – Android Auto using a Raspberry Pi
- https://www.autopi.io/blog/what-is-raspberry-pi/ – What Can Developers Create with Raspberry Pi? Explore Now!
- https://www.ijcrt.org/papers/IJCRT1812757.pdf – IJRTI